

Blog
How to Replace Your AT1000 Compressed Air Line Filter
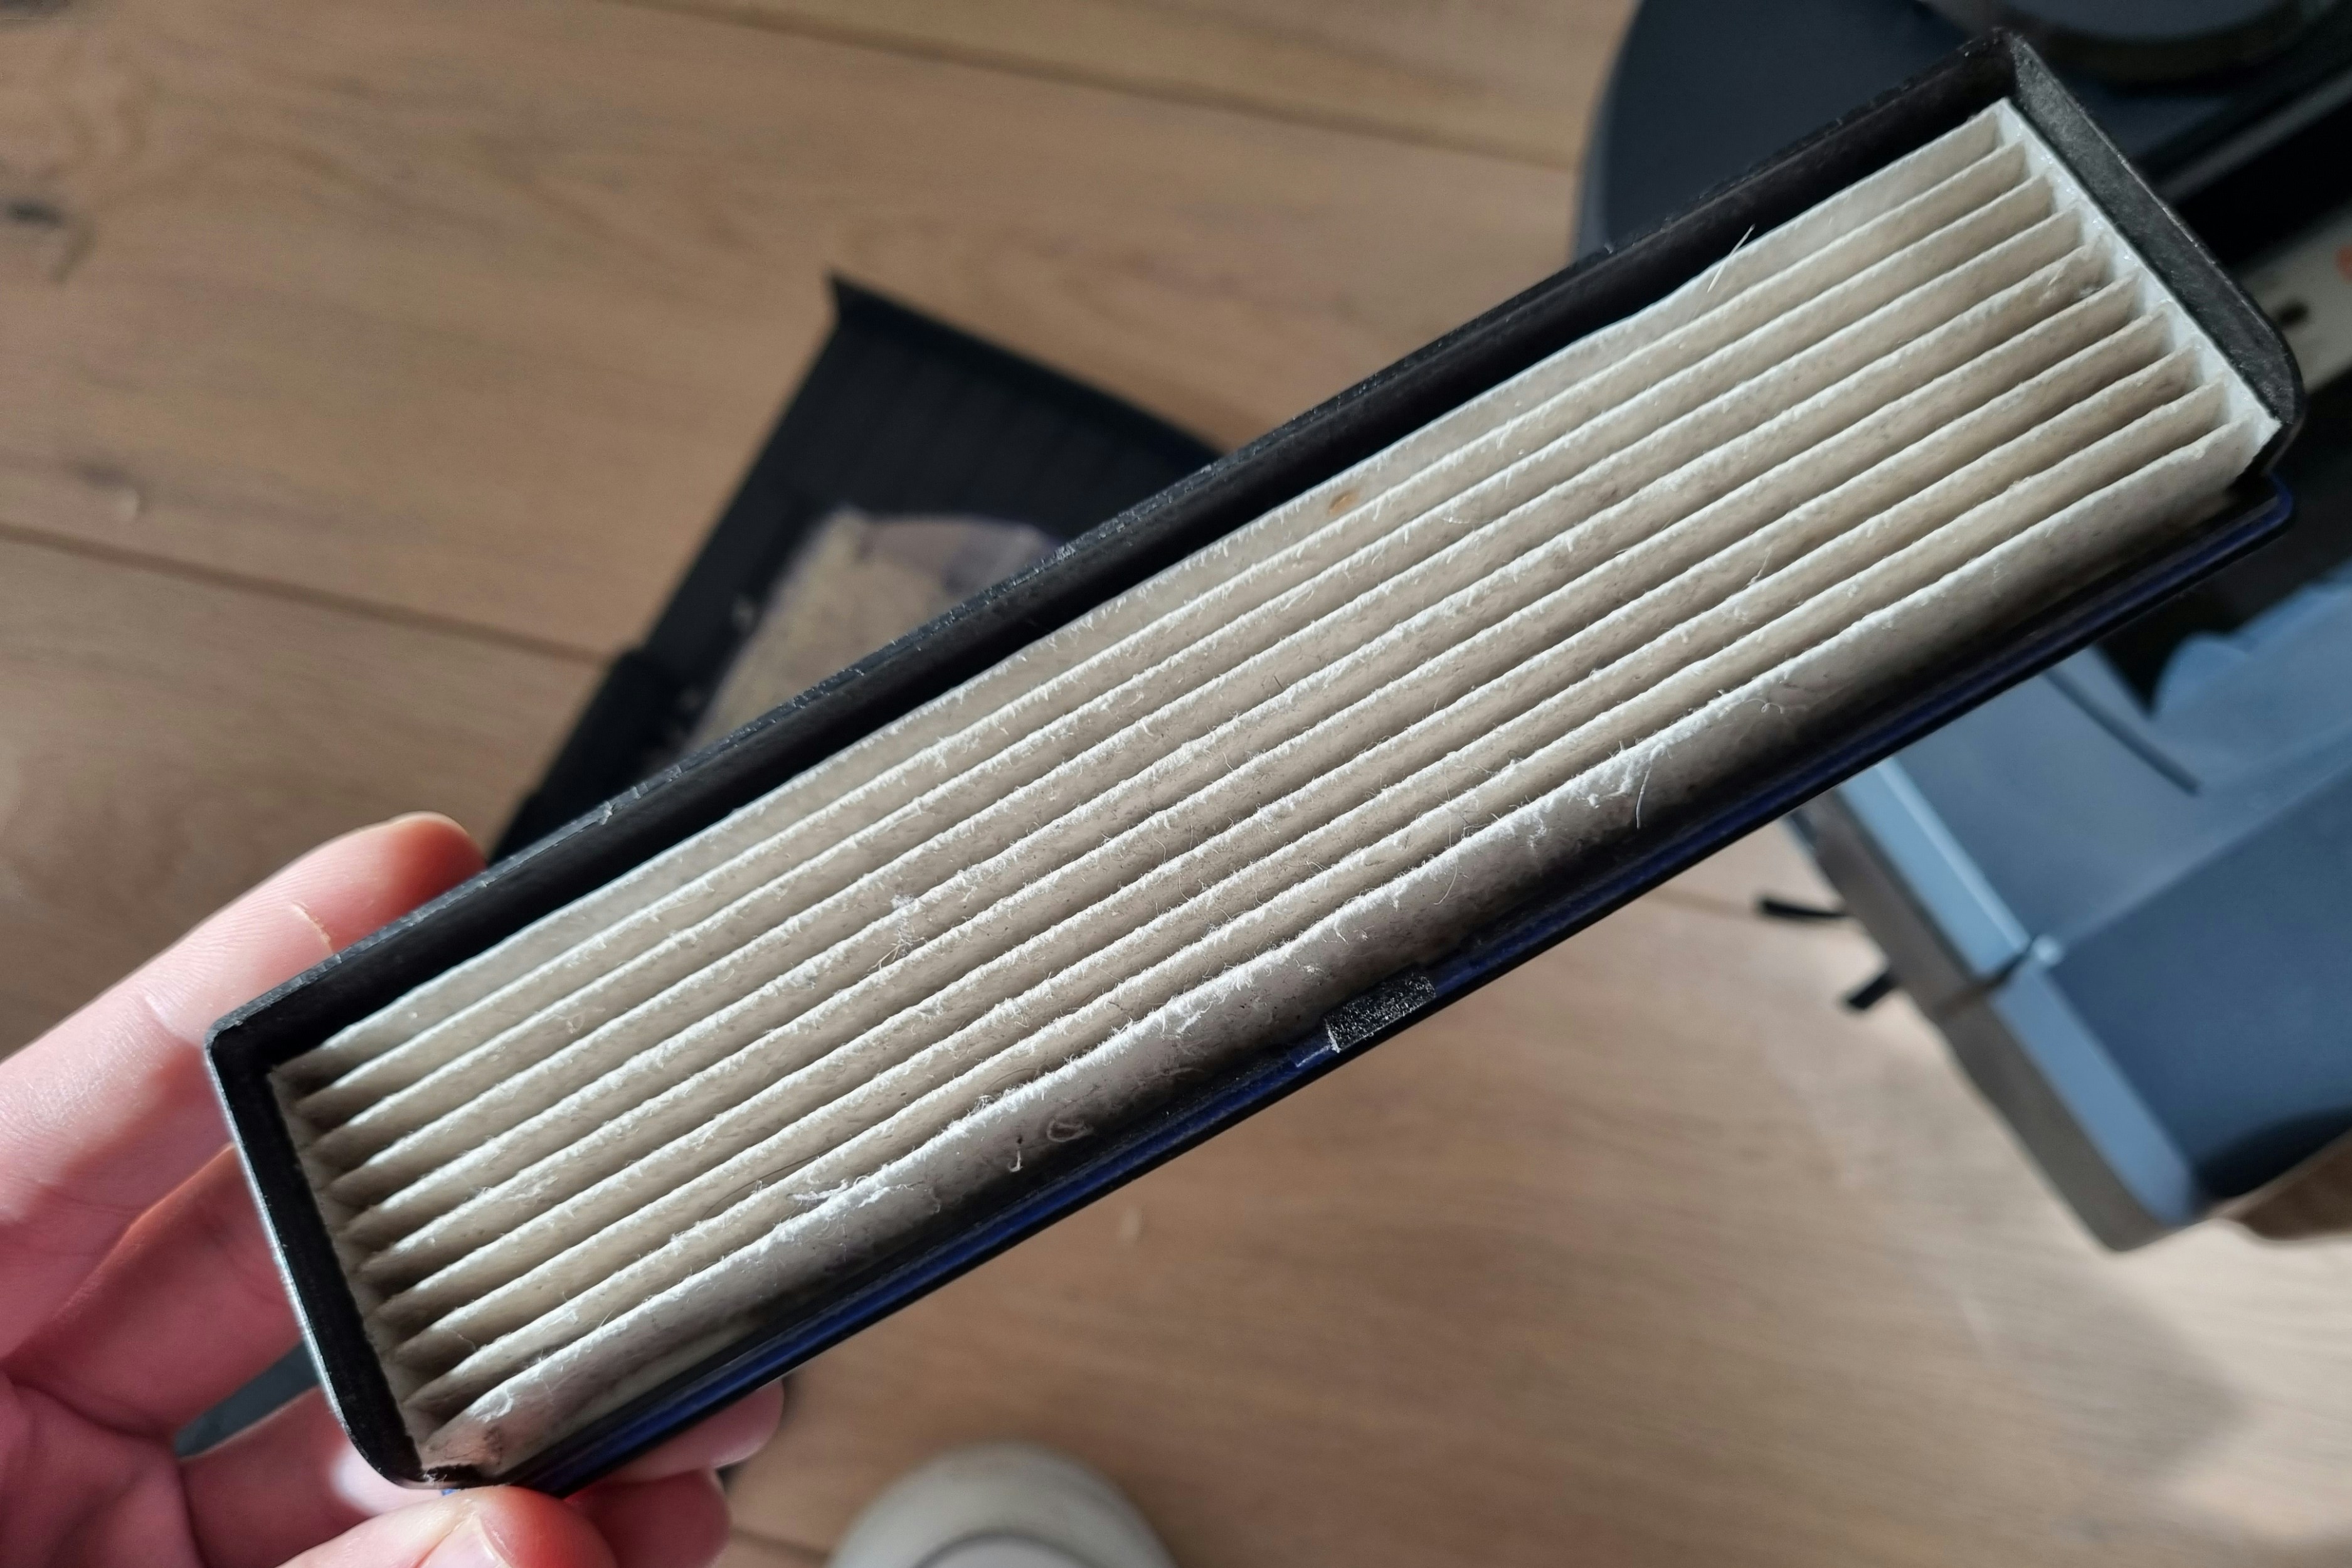
Understanding the Importance of Replacing Compressed Air Filters
Compressed air is vital for various industrial applications, but its quality can diminish over time. This is why periodically replacing filters like the AT1000 compressed air line filter is crucial. A clean filter ensures efficient airflow and protects your equipment from contaminants.
When to Replace the AT1000 Filter
Signs that it’s time to replace your AT1000 filter include decreased airflow, increased moisture in the system, or a noticeable drop in pressure. Regular maintenance checks every few months can help identify these issues early, ensuring your compressed air system runs smoothly and efficiently.
Steps to Replace the AT1000 Compressed Air Line Filter
Replacing the AT1000 compressed air line filter is a straightforward process. First, make sure to shut down and depressurize your air system. Locate the AT1000 filter and remove it by twisting it counterclockwise. Clean the area and inspect the o-ring for wear. Install the new filter by aligning it properly and turning it clockwise until snug. Finally, re-pressurize your system and check for any leaks.
Regularly replacing your AT1000 compressed air line filter not only prolongs equipment life but also enhances performance and safety. Keeping a stock of replacement filters on hand can minimize downtime in your operations.